The Story About the Baby Bugatti
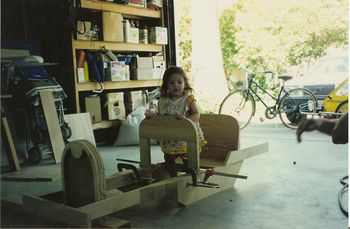
Here is an early picture of the chassis. Hanna is testing the dimensions, and there appears to be plenty of “room to grow”. Most of the chassis is made from alder. Not quite as strong or heavy as oak. On the other hand, it is much better than pine which tends to splinter. The chassis is either held together with “biscuits and glue” or where it needs to be flexible; “nuts and bolts”. Notice the “bottle neck” shape of the frontal chassis allowing space to turn the front wheels.
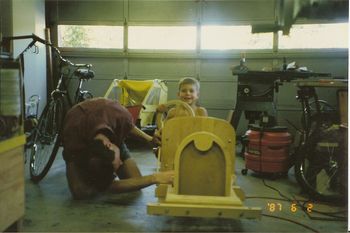
For a long time, I was torn about where to draw the line between commercial versus handmade components. The steering wheel for instance caused many sleepless nights! Should I go looking for a manufactured one, or how would I make one? I finally settled on making one. Its construction is based on glue laminated pieces of oak, which is cut into its final shape using my mill. Here is a shot of Bjorn lending a hand while dad is trying to figure out how to arrange the steering mechanism. Much of the construction was improvised as work progressed.
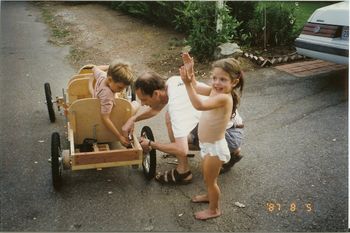
Powering the rear wheels was another challenge. Should I go out and buy a commercial drive train? How about brakes? I finally decided to use a 5/8" steel rood as an axle on which I mounted a miter gear. The gear is encapsulated in a custom designed oak box sporting a bearing on each side. Here you can also see the two wooden drum brakes. More about that later. One of the rear wheels is locked onto the axle with a steel key, which the other is freewheeling. The wheels are held in place with a lock nut/cotter pin. Finally, the rear drive train is attached to the chassis through a pair of oak leaf springs. Hanna is cheering, as she is waiting for her first ride.
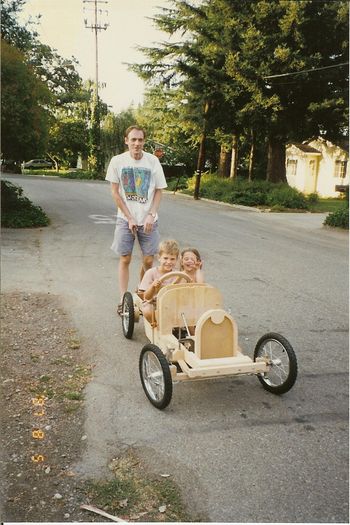
No brakes and driving under age! The maiden drive has passed its muster while dad was delivering the “push-power”. Here you get an idea of the steering mechanism and front suspension. All wheels have custom made aluminum hubs. The front wheels rotate on a 1/2" steel rod through a pair of ball bearings. The horizontal rod is welded to a 5/8" vertical steel rod which is held in place with an upper and lower bushing embedded in an oak bar. The bar keeps the front wheels aligned. Steering is done through a worm gear box and a Pitman arm. I was utterly amazed at how well the Bugatti handled. This beast had potential.
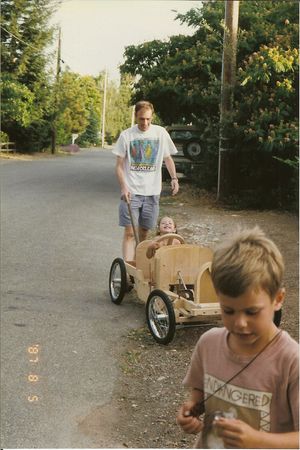
Now a few words about the brakes. I knew that whatever I designed, it had to be extremely easy and powerful. Rather than a foot pedal, I decided on a “brake stick” attached to a 1/2" steel rod. The stick is mounted on the right-hand side, while the rod is mounted in a pair of bushings and traverses the width of the chassis. One lever for each rear wheel is attached to the rod, which in turn pulls a bicycle brake cable which is attached to a band circumnavigating the rear brake drums. As the brake stick is pulled, the band on each of the rear brake drums is pulled tight, thus proving the brake action. They work great! The kids can with little effort make those rear wheel stop bringing the Bugatti to a quick halt.
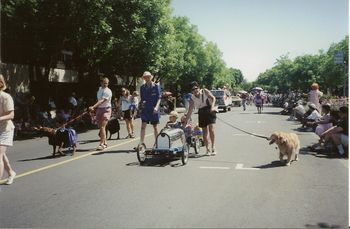
A year or so later, dressed with a shiny aluminum skin, and powered by a 1/10hp window wiper motor from one of my dad’s old buses, the kids ride down main street of Los Altos in the pet parade. Notice the attached wagon carrying our pet chicken.
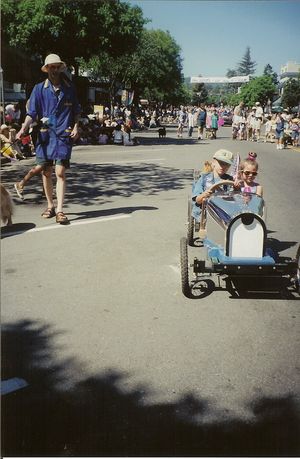
The Bugatti was really a bit underpowered with the window washer motor, although the 2x 12V lead acid lawn-mover batteries proved to be a good choice for delivering power. Speed control in the early version was done with a simple on/off switch.
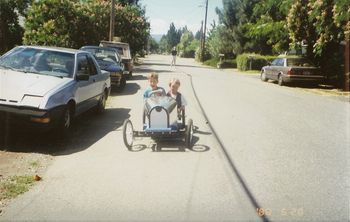
About a year later, I capitulated and bought a 1/3HP 24vdc Dayton motor, which I rigged with up a speed control using a PWM motor controller and a power MOSFET. I have clocked the Bugatti at 14mph. Here’s Bjorn demonstrating his driving skills to a friend Michael.
The Bugatti has been on display at our local history museum of Los Altos, and is currently suspended under our garage ceiling waiting for the next generation…
– Mogens Lauritzen